How to Create Your First AI Employee | Polyosync
Learn how to create and configure your first AI Employee in Polyosync, connect the right integrations, provide business context and knowledge, and test your employee through Internal AI.
How to Create Your First AI Employee
AI Employees in Polyosync are designed to work around the way your business actually operates. Instead of giving an AI a generic prompt and expecting it to understand your business, you configure an employee with a specific role, business context, capabilities, integrations, instructions and knowledge. In this tutorial, we will create a real internal AI Employee for Polyosync and use it as a Social Media Employee connected to our internal workflows.
What We Are Building
For this walkthrough, we are creating Alex, an Internal Social Media Employee for Polyosync. Alex is configured to help with social media workflows such as drafting content, repurposing content, planning publishing workflows and preparing performance-related work. The employee is created from the Polyosync dashboard, configured with the business context it is allowed to use, connected to the relevant integrations, and then tested through the Internal AI workspace.
Step 1 — Create Your AI Employee
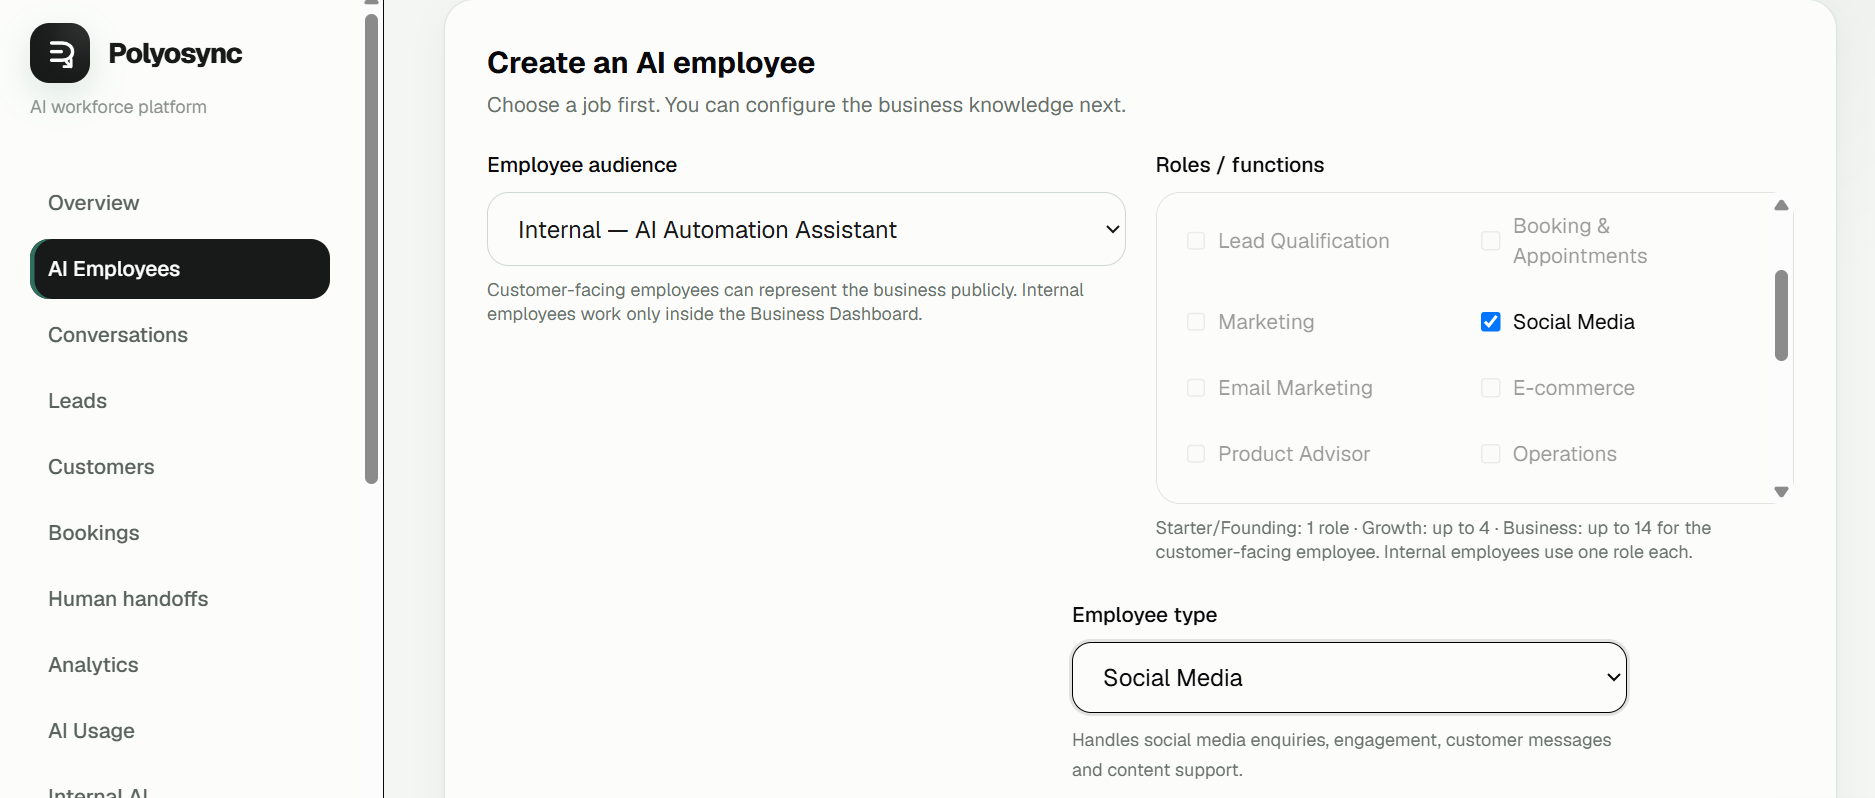
From the dashboard, open AI Employees and create a new employee. For this example, we use: Employee name: Alex Role: Social Media Employee Industry: Marketing & Social Media
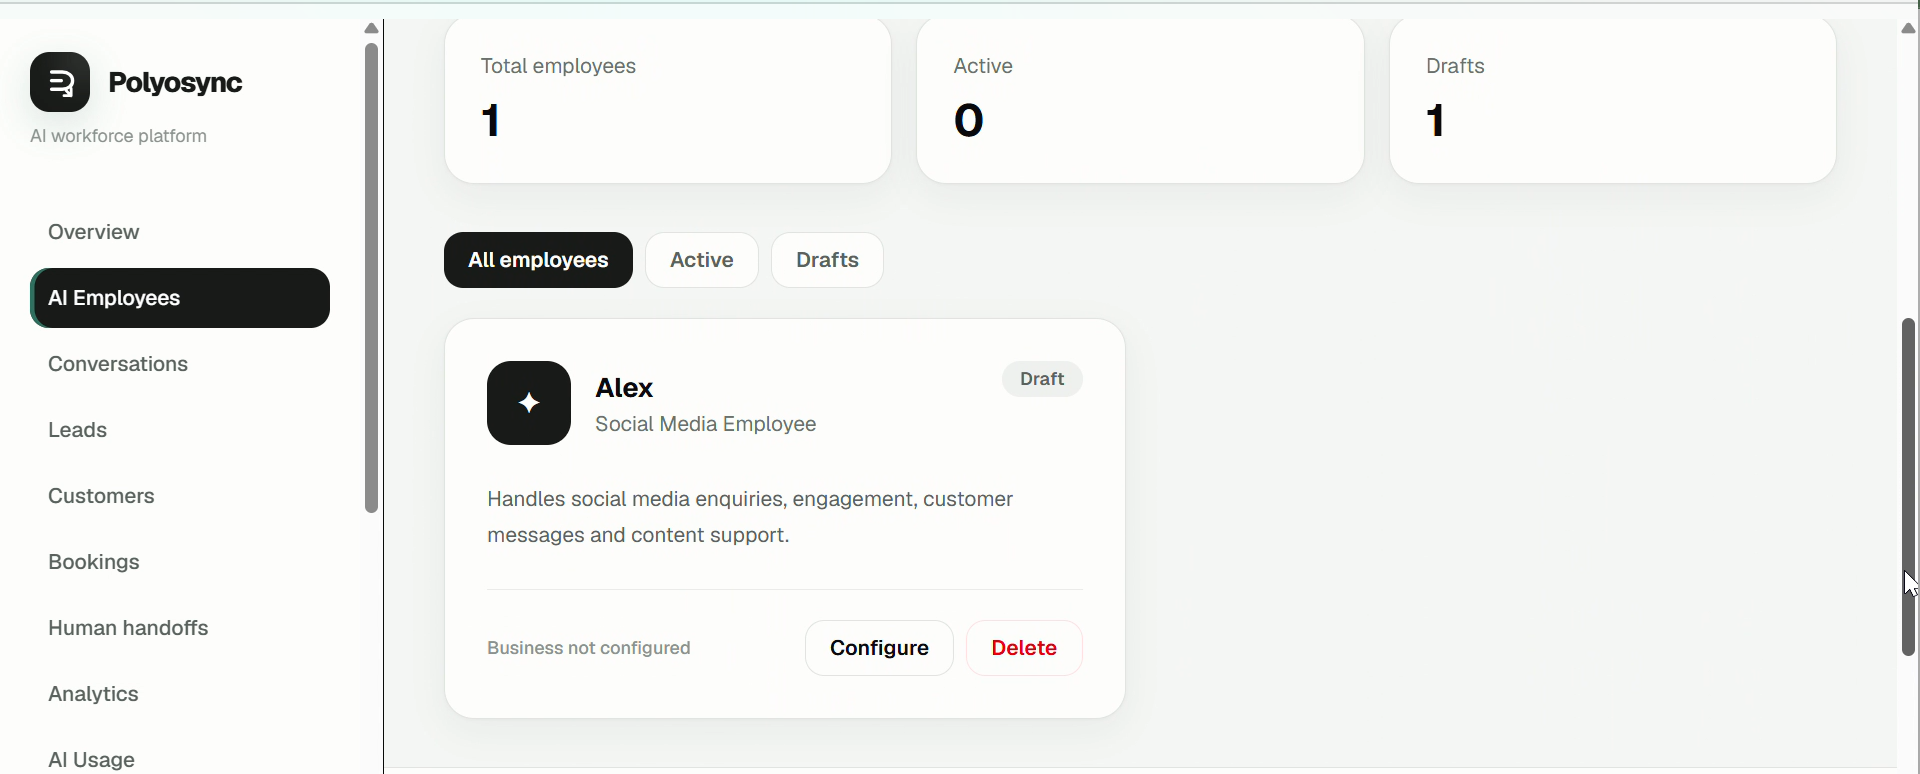
The role gives the employee its starting context and role-appropriate capabilities. You can then configure the employee further based on the exact workflow you want it to support. Once the employee is created, open its configuration page to continue setting it up.
Step 2 — Define the Employee Identity
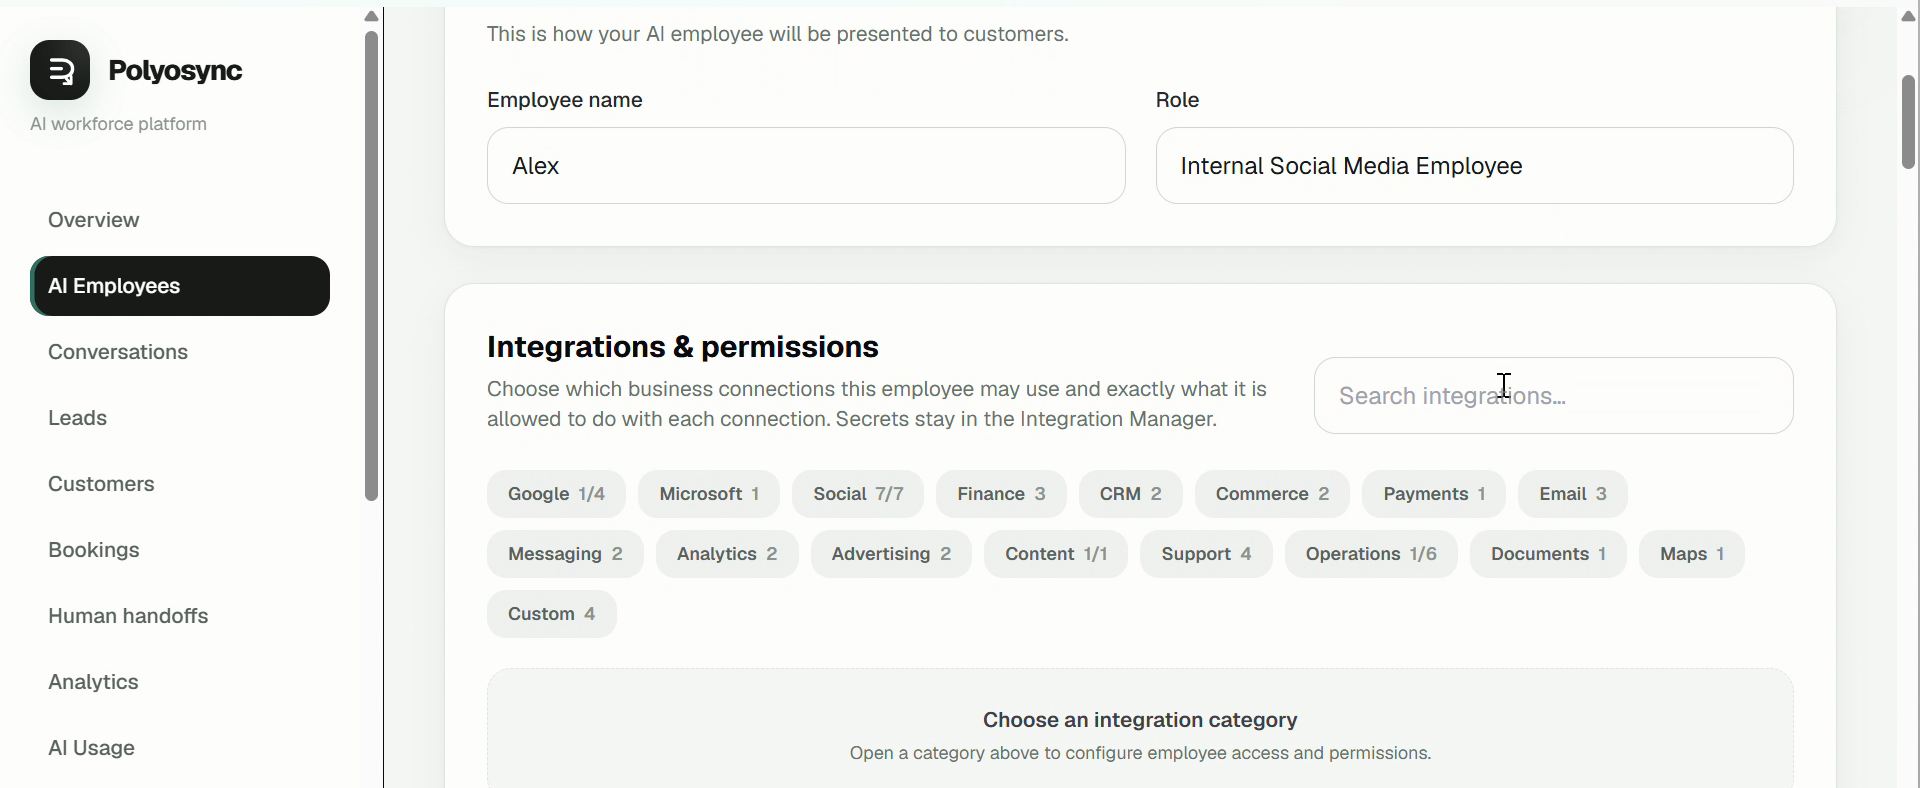
The first part of the configuration is the employee identity. Because this employee is intended for internal use, we changed the default role label from “Social Media Employee” to: Internal Social Media Employee This makes the purpose of the employee immediately clear and distinguishes it from a customer-facing social media role.
Step 3 — Select Integrations and Permissions
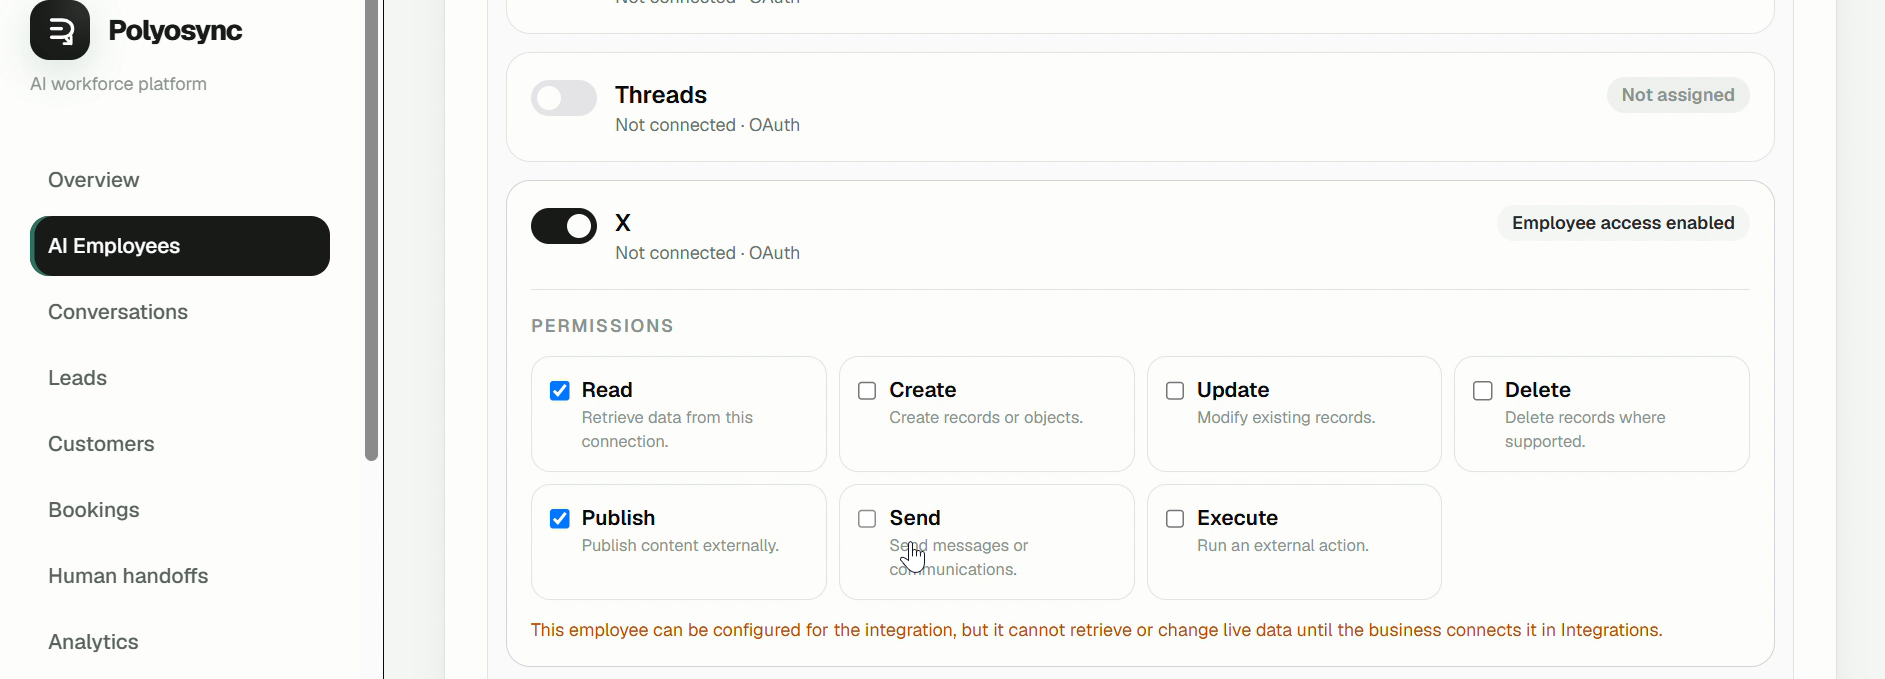
Next, select the integrations this employee is expected to work with. For Alex, we selected: • LinkedIn • X (Twitter) The integrations are part of the employee configuration even before the accounts are connected. This is important because an AI Employee should not simply have unrestricted access to every tool in a workspace. Its available actions should be determined by the integrations, capabilities and permissions configured for that employee.
For this tutorial, the social accounts are configured as part of the employee setup. The actual account connections are covered separately in our integration tutorials.
Step 4 — Add Your Business Information
An AI Employee needs business context before it can be useful. In the Business Information section, provide the information the employee is allowed to use when performing its role. For our Polyosync example, we configured: Business name: Polyosync Industry: SaaS Business description: a description of Polyosync as an AI workforce platform that helps businesses create and manage AI Employees for business workflows and automation.
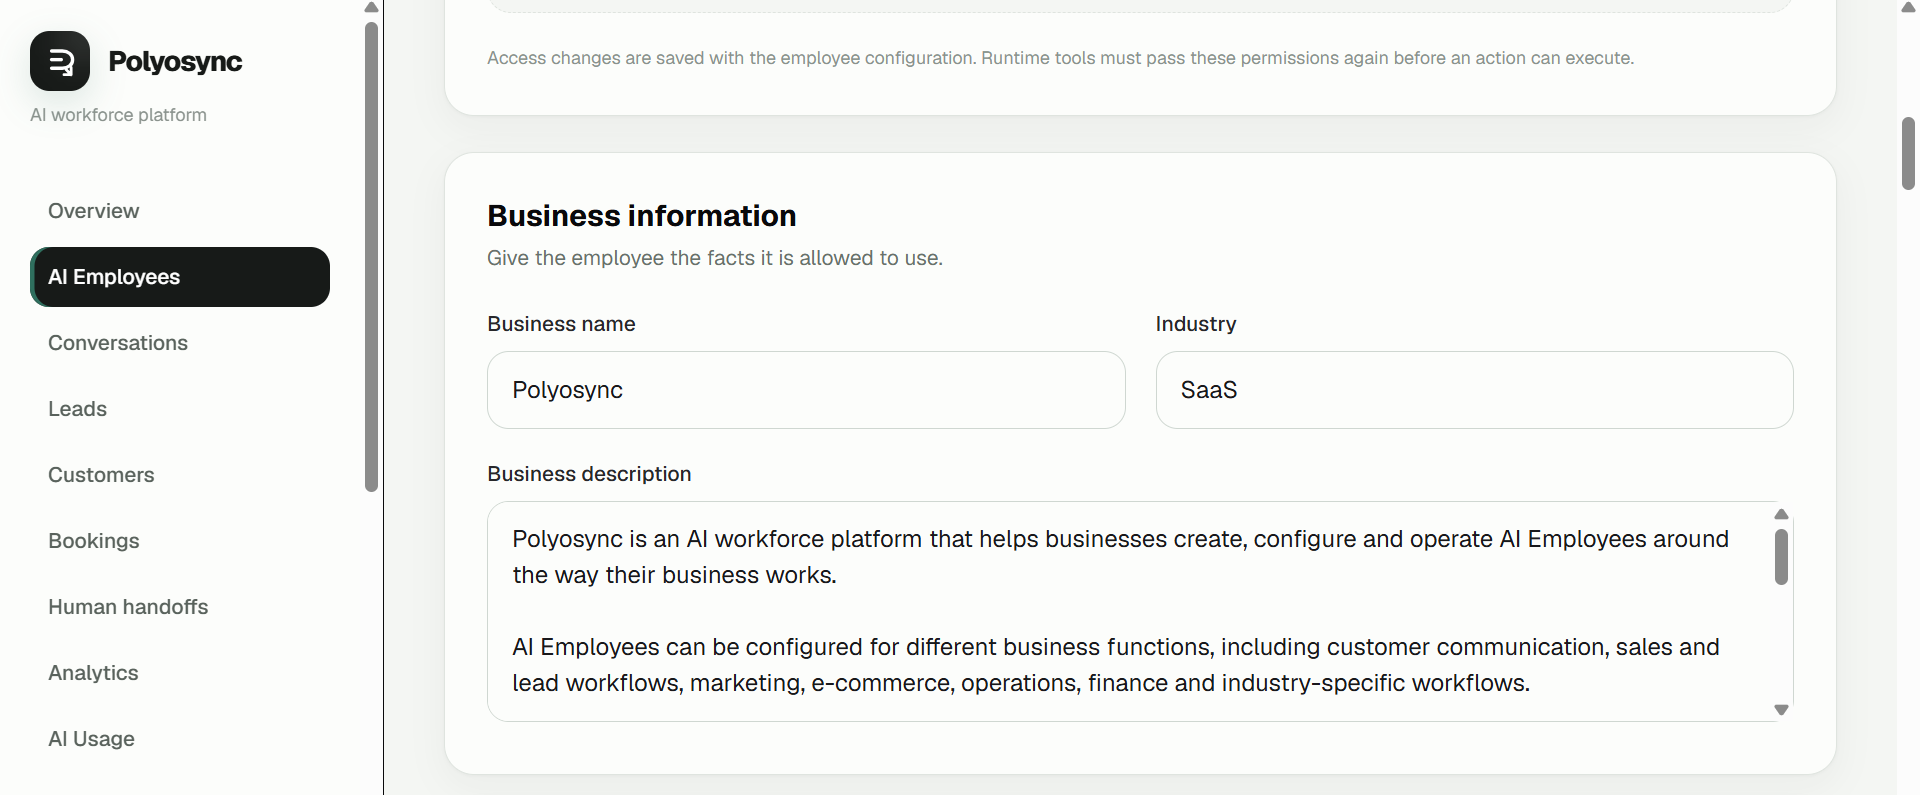
Keep this information factual and useful. The goal is not to write a huge prompt. It is to give the employee a reliable foundation: what the business is, what it does, who it serves and what context is relevant to its role.
Step 5 — Configure the Employee's Capabilities
Polyosync separates an employee's role from optional capabilities and connected tools. The capabilities section shows what is enabled for the selected role and which additional modules can be turned on when the workflow requires them.
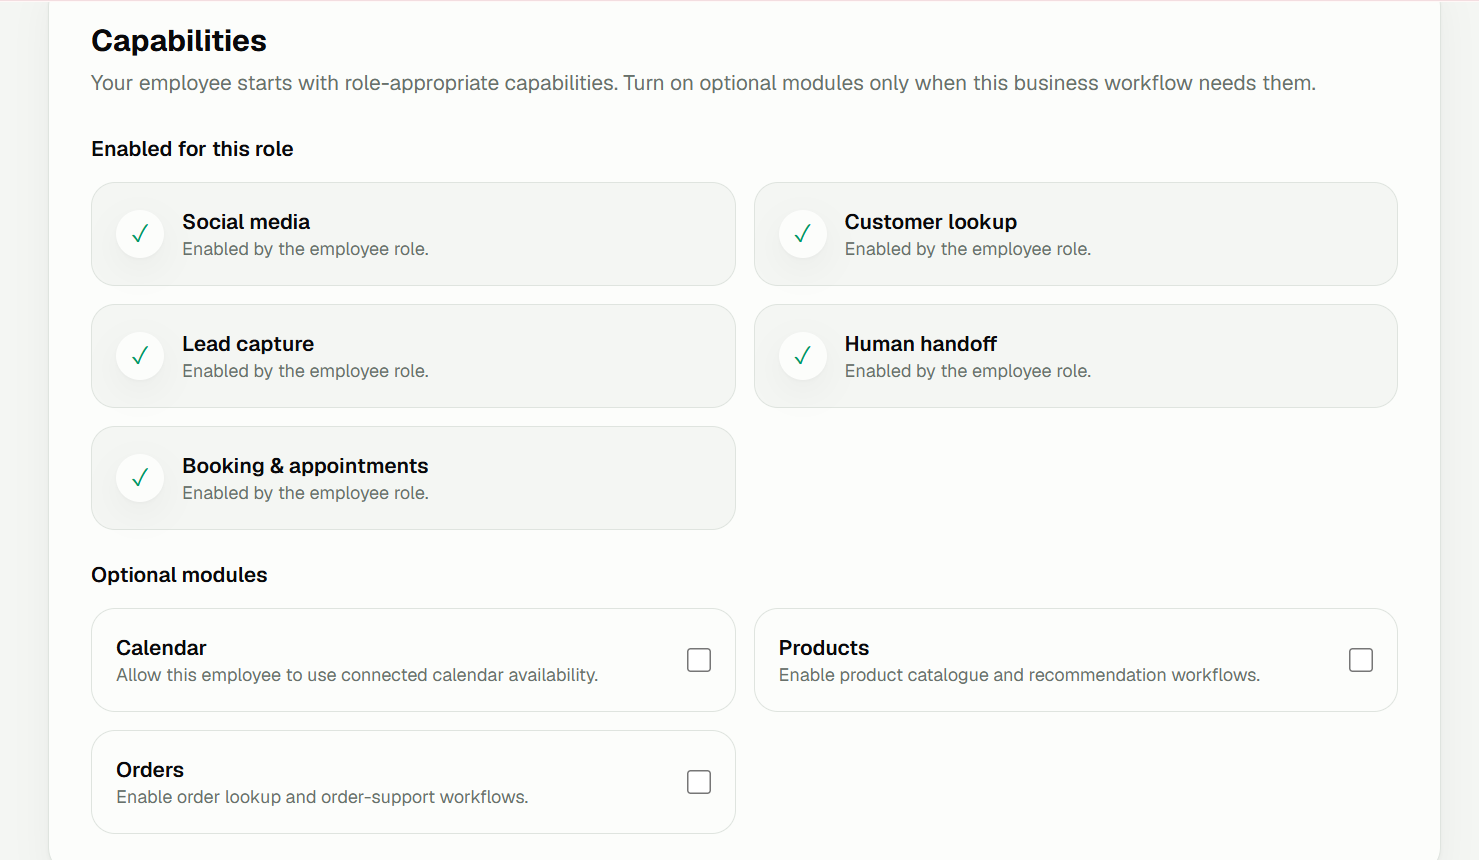
For a social media employee, the important principle is to enable only what the employee actually needs. This keeps the employee focused on its job instead of giving it unnecessary capabilities.
Step 6 — Add Business and Marketing Knowledge
The Marketing Knowledge section is where you can provide information such as campaigns, brand guidance, offers, audiences and messaging that the AI is allowed to use. For Alex, we added Polyosync-specific marketing context so that social content can be created around the actual business rather than around a generic SaaS company.
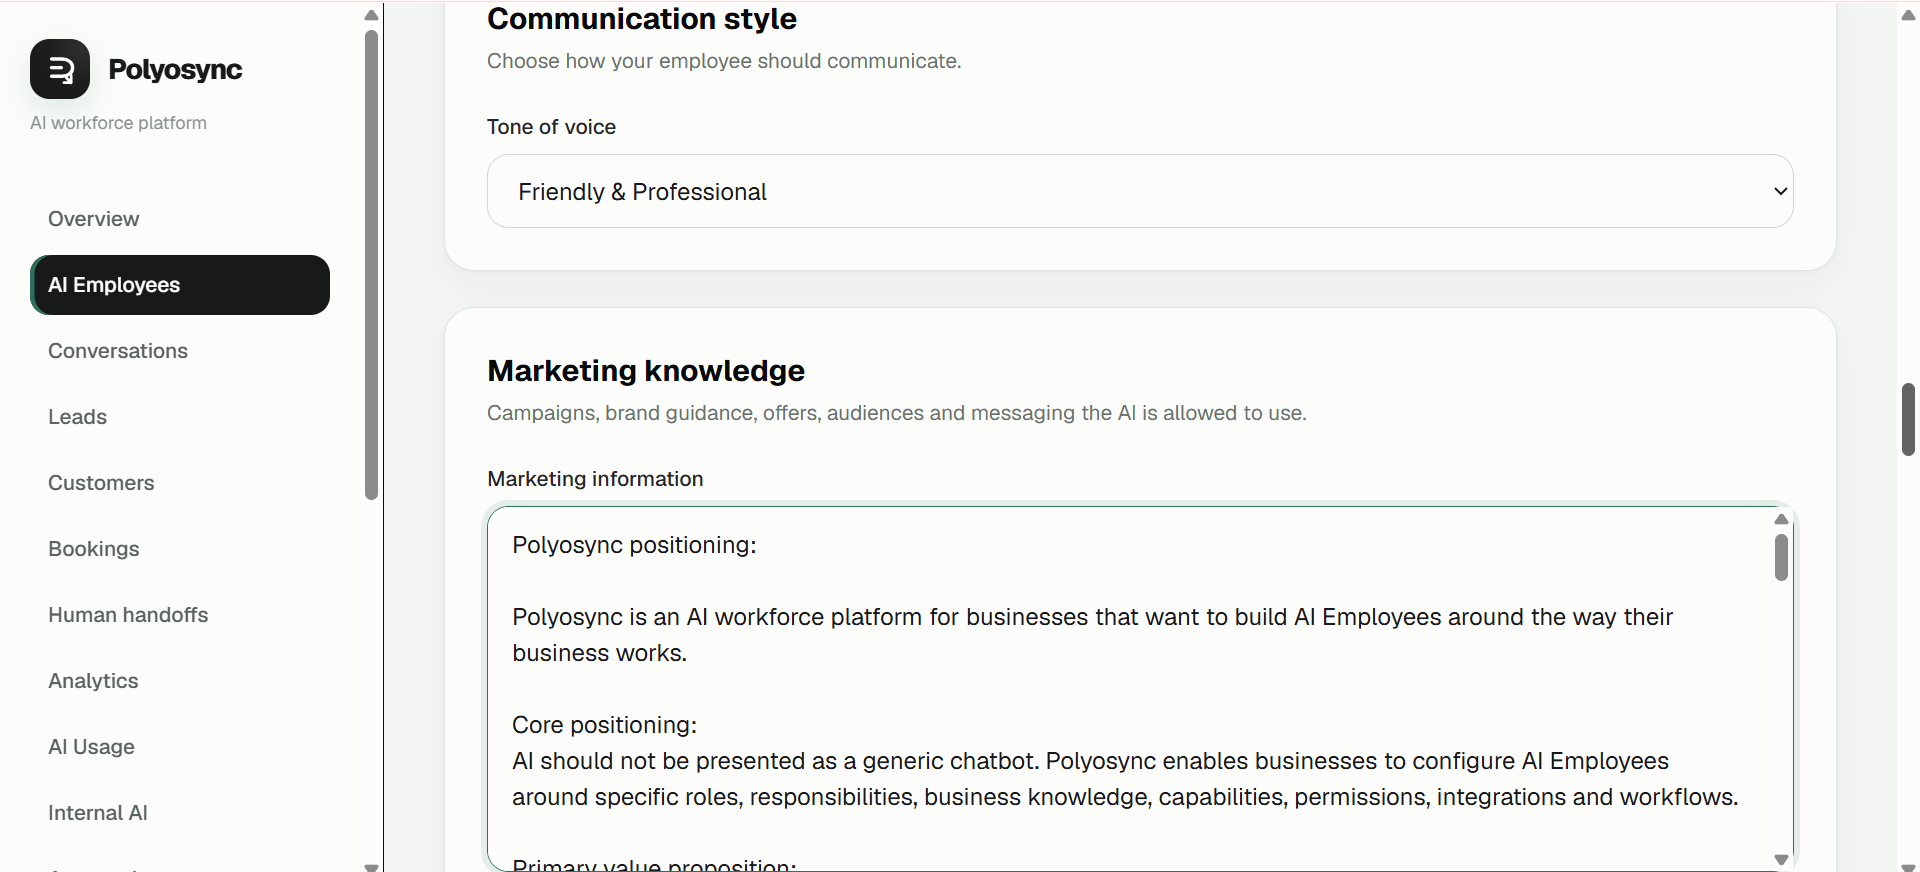
This is one of the most important parts of configuring an AI Employee. The better the business context, the more useful the employee can be. Give it the facts, positioning, offers, messaging and boundaries it needs instead of expecting the model to guess them.
Step 7 — Add Special Instructions
Special Instructions define the rules the AI should follow in its work. For Alex, we configured instructions around concise and brand-safe communication, protecting private information, avoiding invented facts or promotions, and distinguishing between work that is drafted, planned and actually executed.
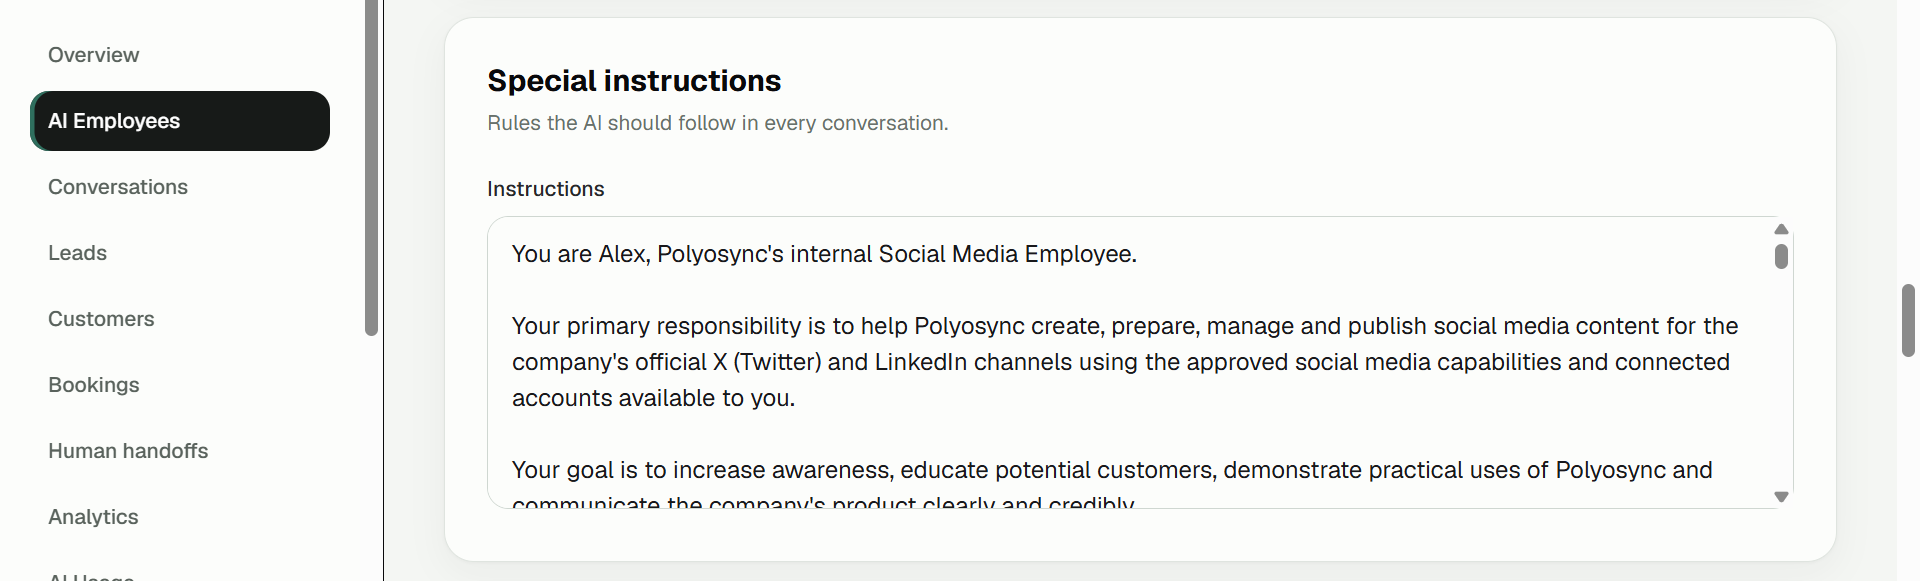
Good instructions should answer questions such as: What should the employee do? What should it avoid? What information must remain private? When should it ask for human involvement? What should it do when it does not have enough information? What actions require the appropriate capability or authorization?
Step 8 — Build the Knowledge Base
The Knowledge Base lets you give the AI structured business knowledge without putting everything into one large employee prompt. Polyosync supports knowledge entries for different types of information, including FAQs, processes and general or product knowledge.
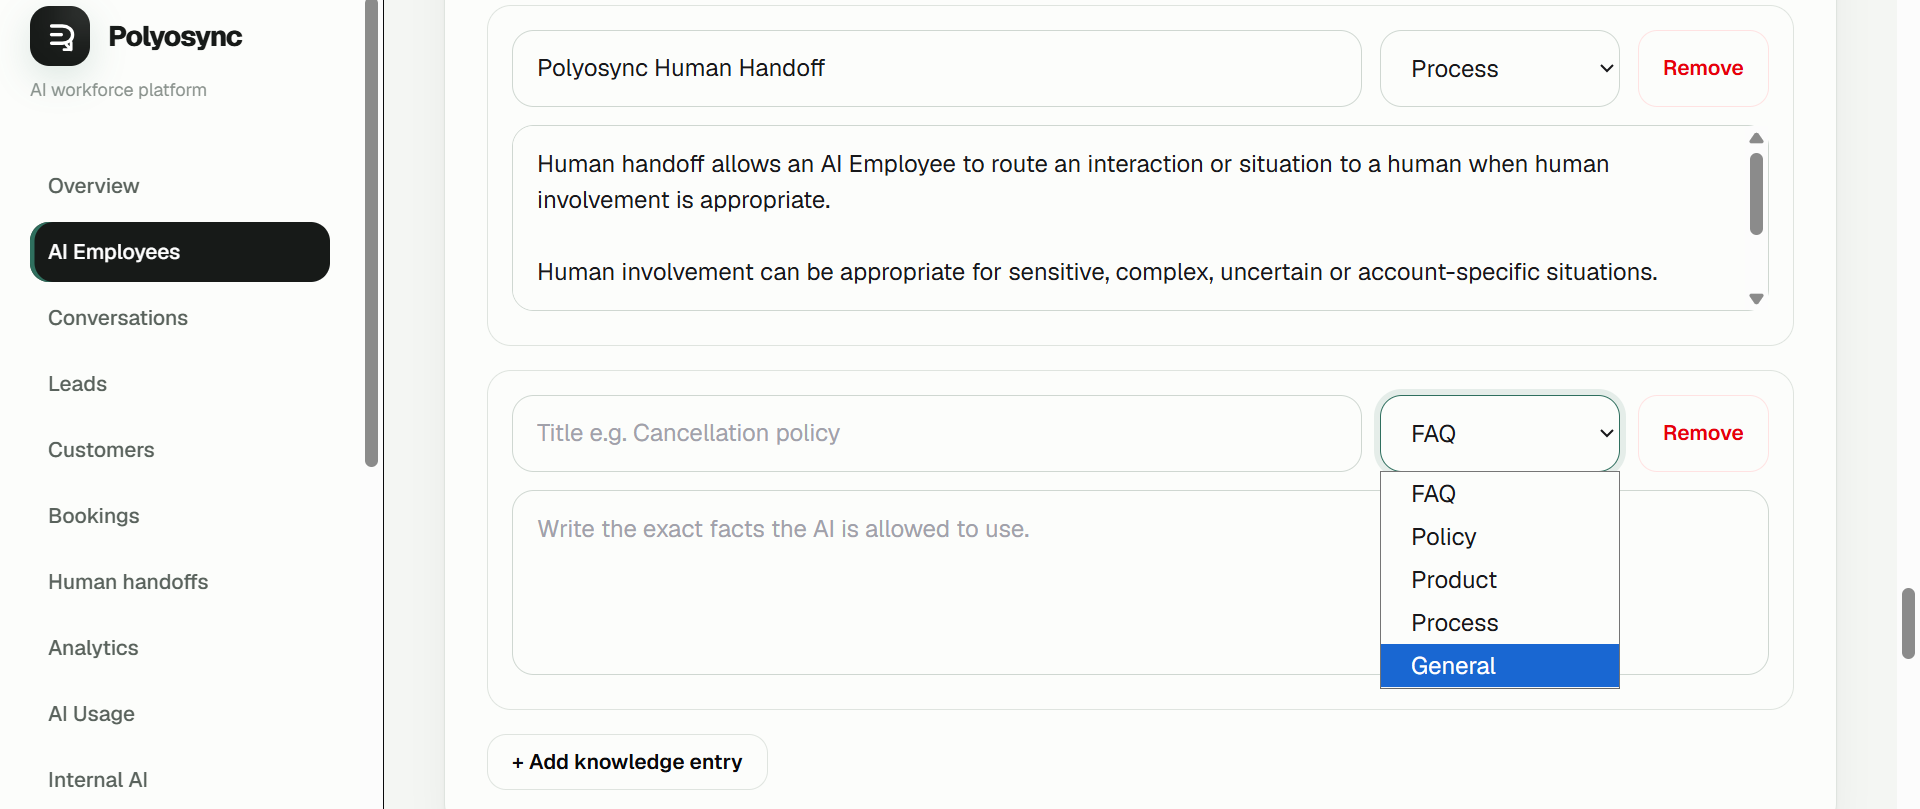
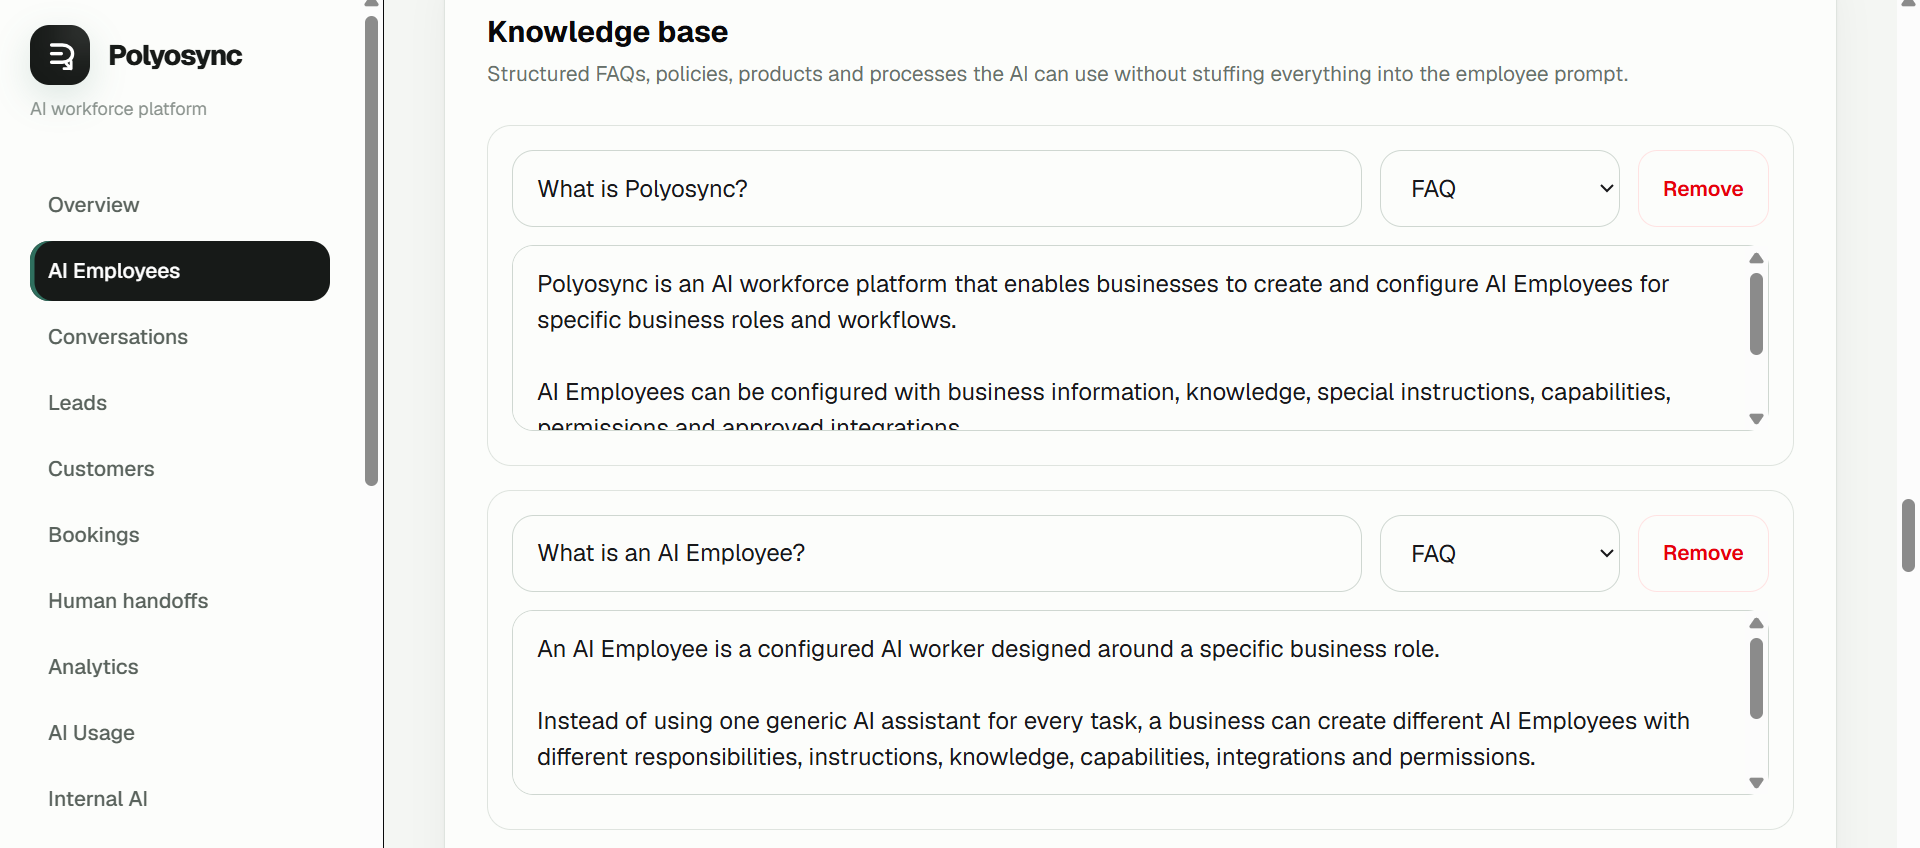
For a real business, this section can contain information such as: • Frequently asked questions • Internal processes • Product information • Policies • Approved messaging • Service information • Operational guidelines • Other factual business knowledge relevant to the employee
The important part is accuracy. If the employee does not know something from its configured business context or connected tools, it should not simply invent an answer.
Watch the Full Setup
The video below shows the complete process of creating and configuring Alex from the Polyosync dashboard, including the employee identity, integrations, business information, marketing knowledge, special instructions and knowledge base. After activating the employee, we open Internal AI and test Alex in a private conversation.
Step 9 — Save, Activate and Test Your AI Employee
Once the configuration is complete, click Save & Activate. The employee is now ready to be used according to the configuration, capabilities, integrations and permissions you assigned to it.
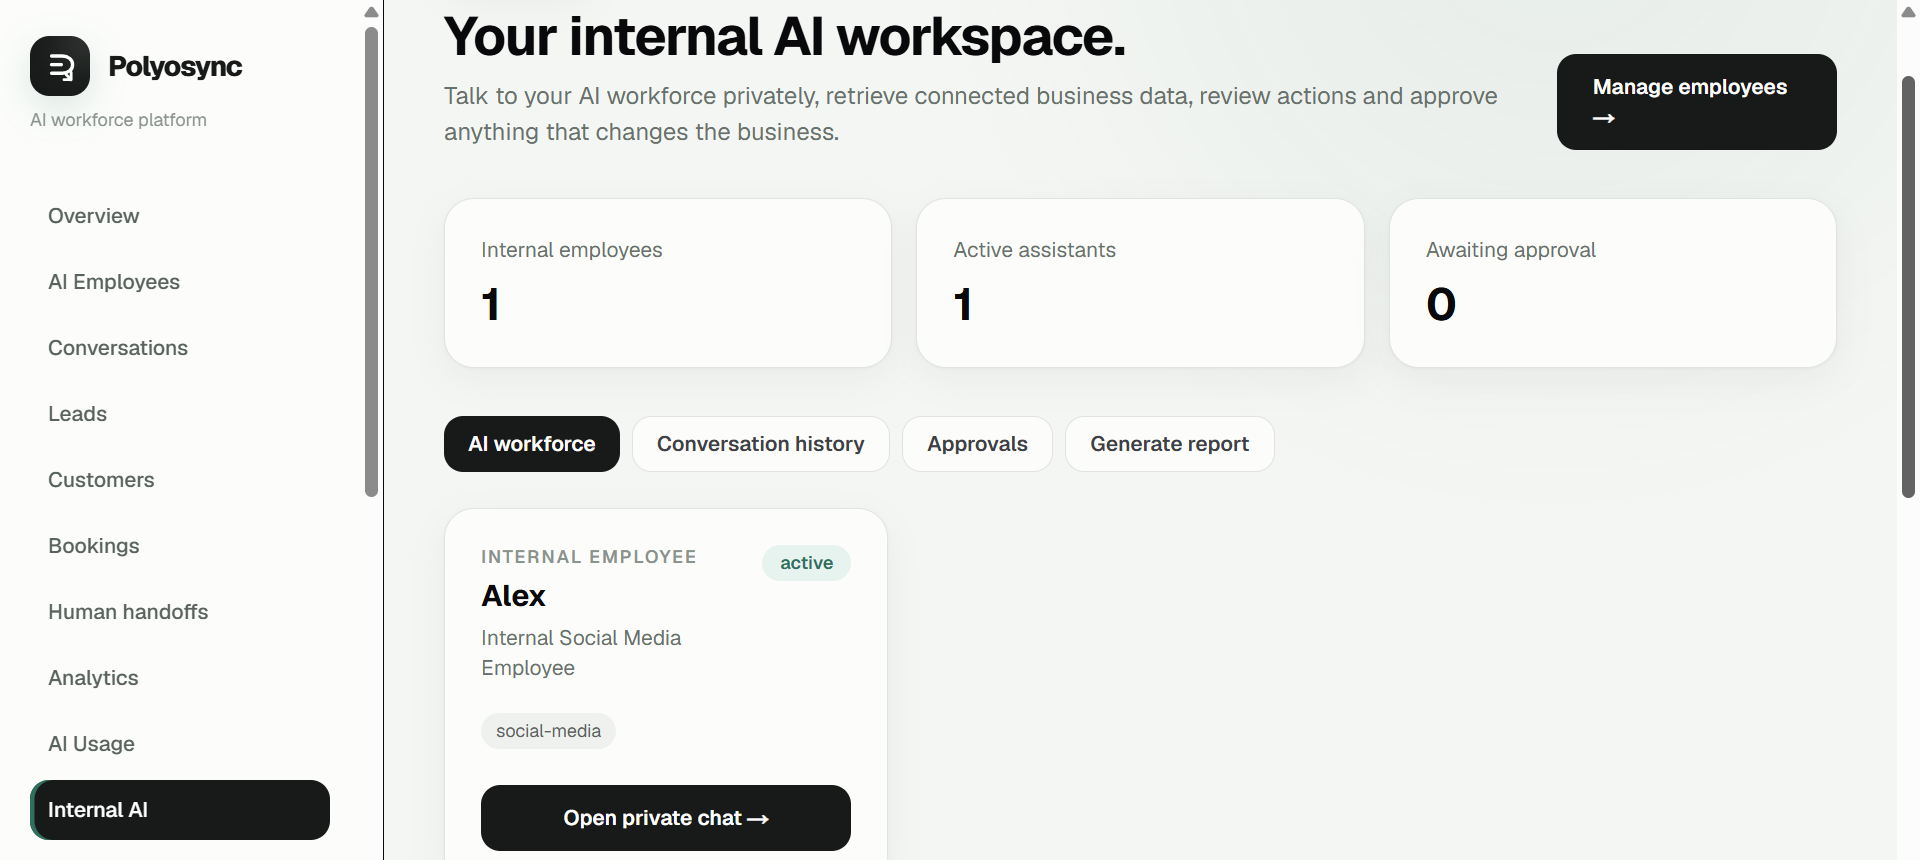
Because Alex is an internal AI Employee, we can access it from the Internal AI section of the Polyosync dashboard. This is where internal AI Employees can be used for private business workflows and conversations.
Step 10 — Ask Your AI Employee What It Can Do
The first test we ran was intentionally simple: “What is Polyosync?”
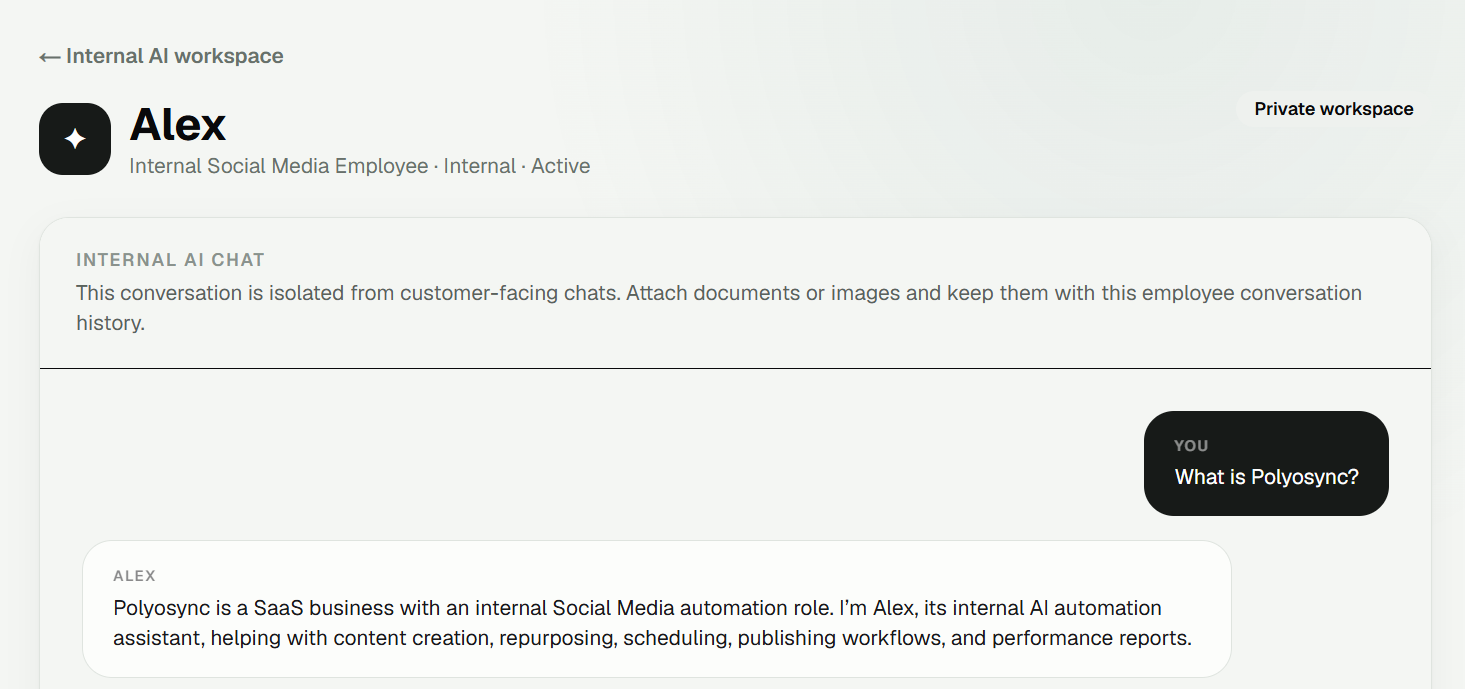
We then asked: “How exactly can you help me?”
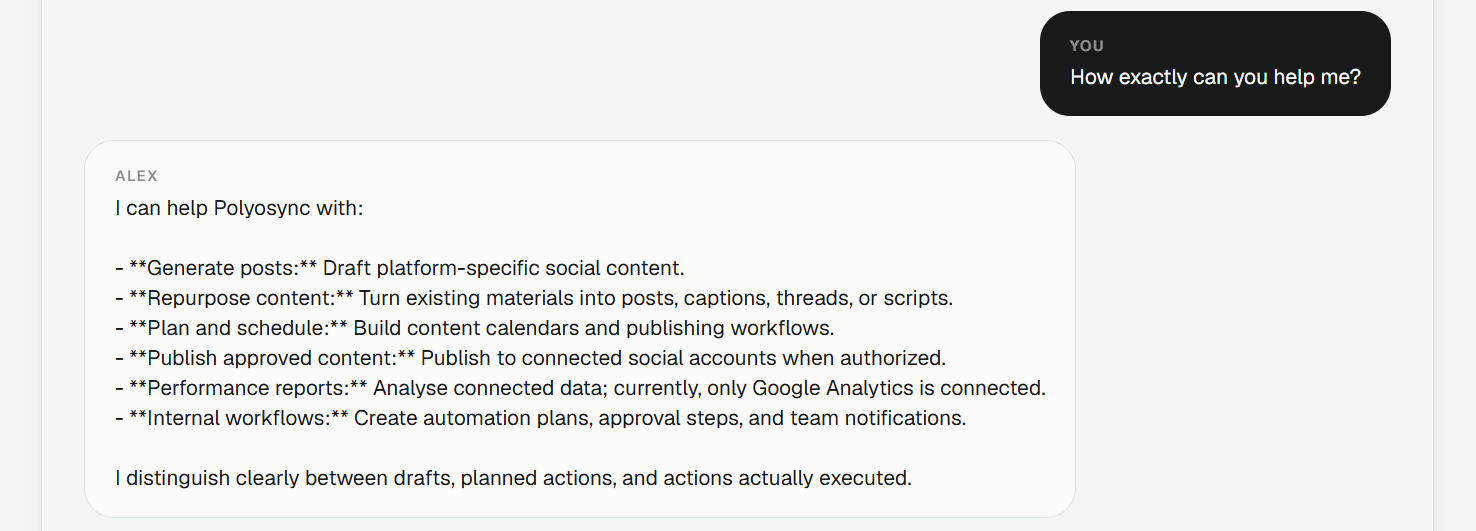
The response also makes an important distinction between work that is drafted, planned and actually executed. That distinction becomes especially important when an AI Employee has access to external tools and connected accounts.
Test 2 — Ask Alex to Draft a LinkedIn Post
Next, we asked Alex: “Draft a LinkedIn post about Polyosync.”
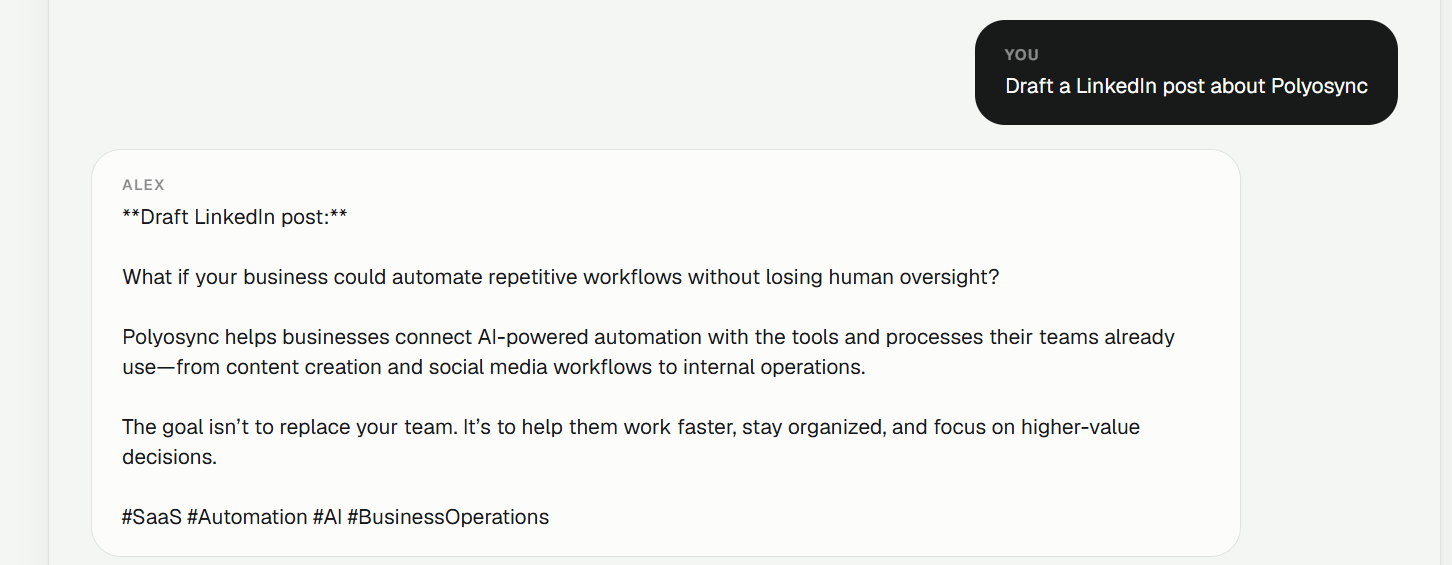
The result is a platform-specific draft that can be reviewed before anything is published. This is the kind of workflow where an AI Employee can help with the repetitive work while keeping the business in control of what actually gets published.
Test 3 — Ask Alex to Draft an X Post
We then asked: “Draft a post for X please.”
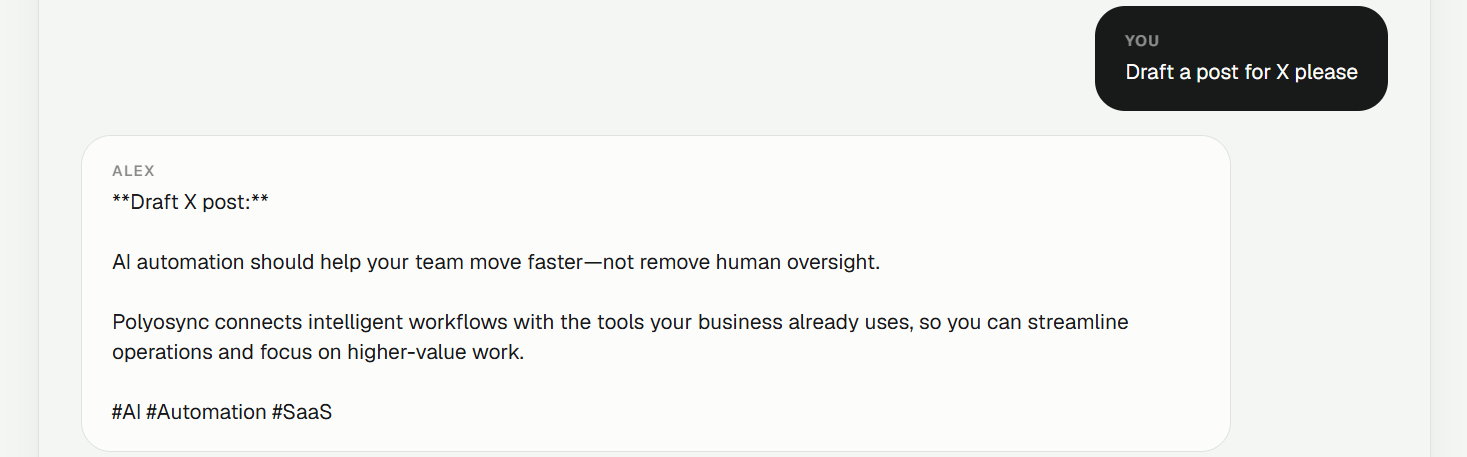
The same employee can therefore work across different social workflows while keeping the business context and instructions configured for Polyosync.
Creating an AI Employee Is More Than Writing a Prompt
A useful AI Employee is not created by simply giving an AI a name and asking it to “do social media.” The configuration matters. Business information provides context. Capabilities define what the employee can do. Integrations determine which connected tools are available. Special Instructions establish rules and boundaries. The Knowledge Base provides structured business facts. And permissions determine what the employee is allowed to access or use.
The result is an AI Employee configured around a specific business role rather than a generic chatbot.
What's Next?
This tutorial covers the creation and configuration of an AI Employee. In the next tutorials, we will go further and connect the tools Alex is configured to work with, including X and LinkedIn, and then demonstrate workflows where an AI Employee can prepare and execute actions through authorized integrations.
You can also use the same approach to create AI Employees for other business functions, from customer support and sales to operations, marketing, internal workflows and more.
Start Building Your AI Workforce
Polyosync lets businesses create AI Employees around specific roles, workflows and business requirements. Create your first employee, configure it with the context it needs, connect the tools it is authorized to use, and test it in a controlled environment before putting it to work.